
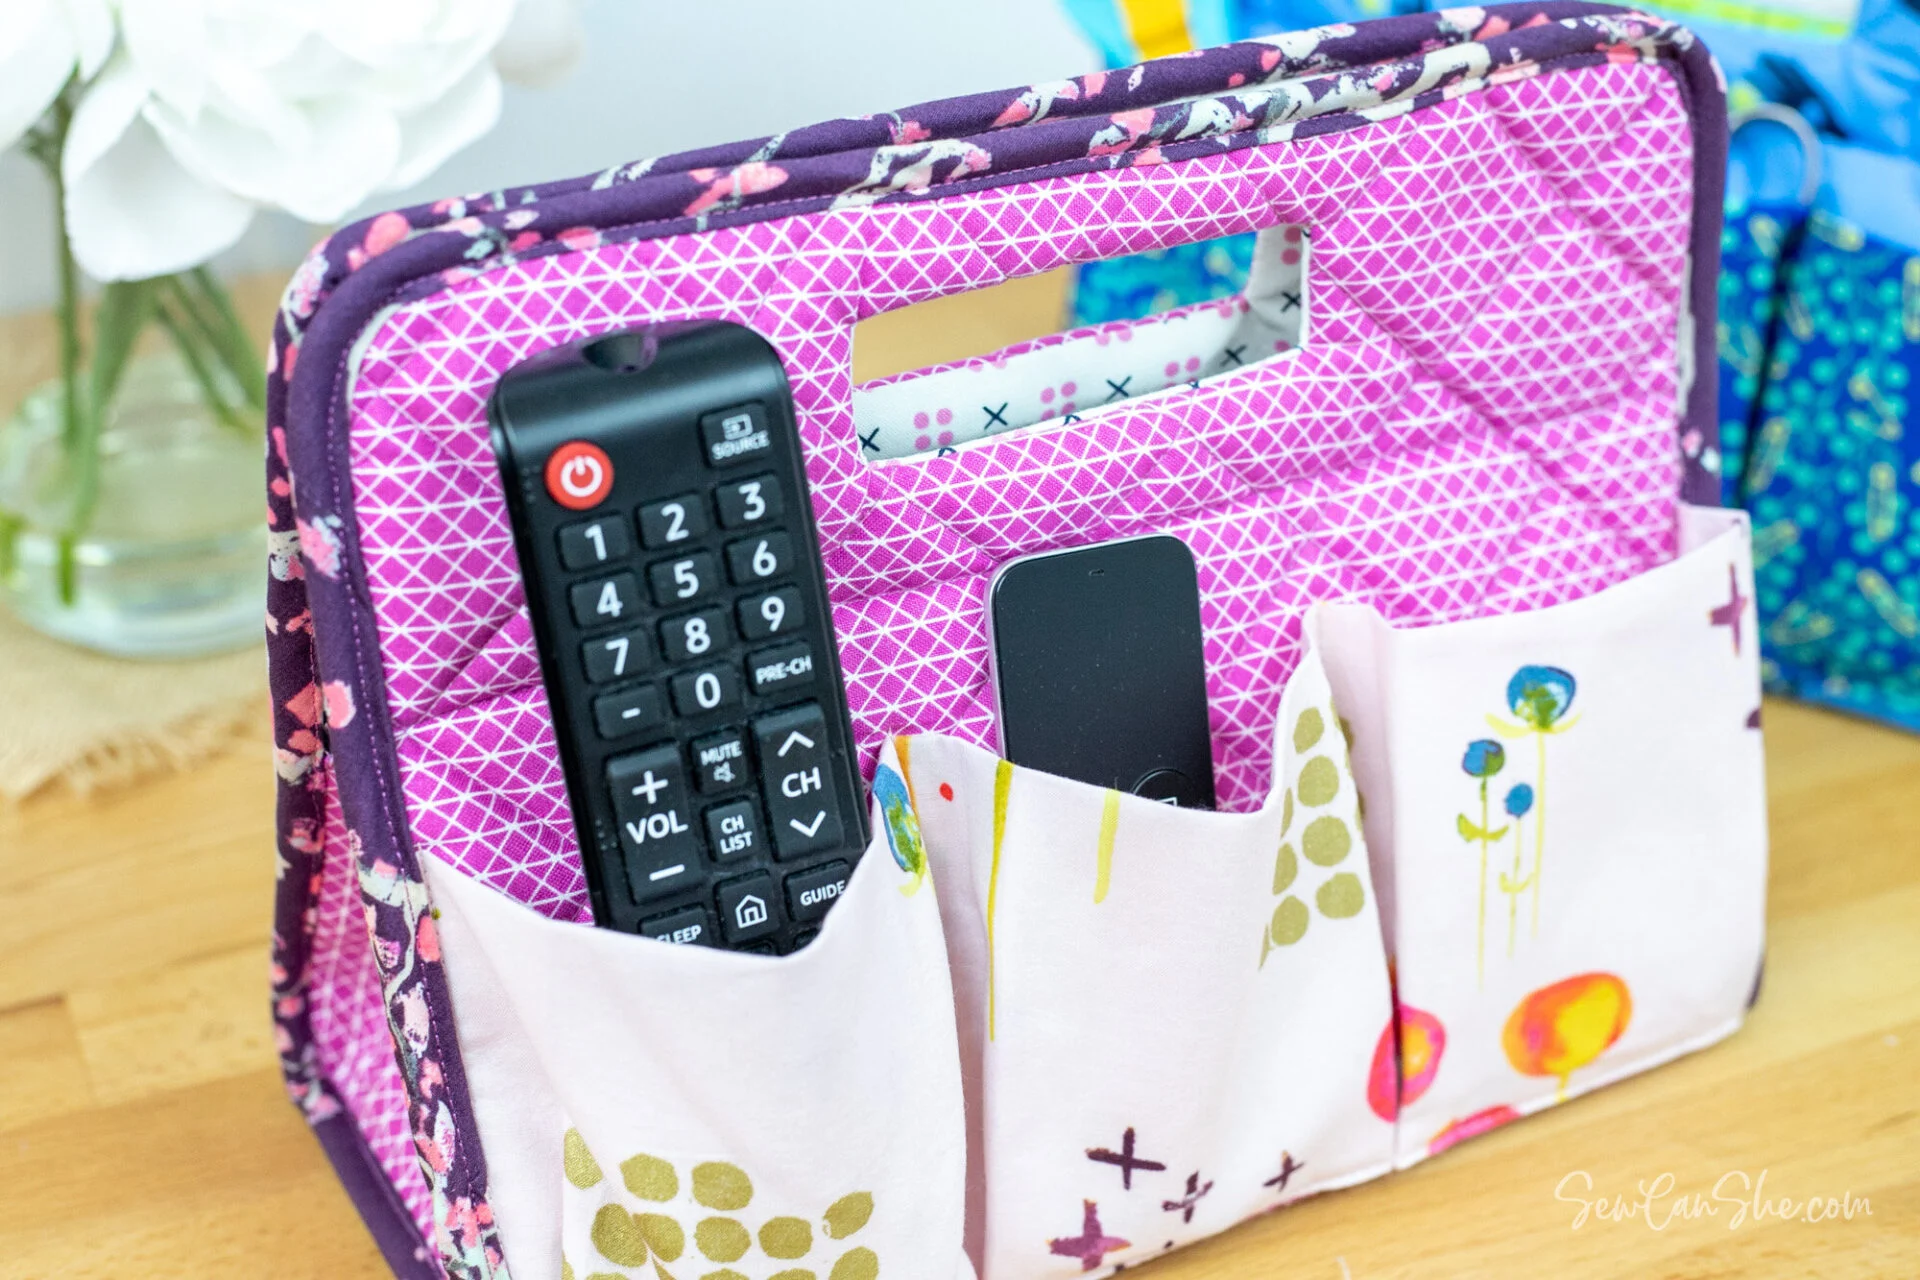
The The Amazing A-Frame Organizer with cut out handles – Quilt Pattern is an innovative sewing project that combines practicality with creativity. This versatile organizer is perfect for storing sewing supplies, craft materials, or everyday household items, making it a must-have for anyone who loves both quilting and organization. The unique A-frame design, coupled with convenient cut-out handles, ensures that this organizer is not only functional but also visually appealing, adding a touch of handmade charm to any space. With its quilted construction, it brings durability and structure to your storage solution.
Creating the The Amazing A-Frame Organizer with cut out handles – Quilt Pattern allows you to explore different quilting techniques while crafting something truly useful. From choosing fabrics to designing the compartments, every step of this project is a chance to enhance your sewing skills. The cut-out handles make it easy to carry the organizer from one room to another, while the A-frame shape provides stability and ample storage capacity. This project can be personalized with your favorite fabric prints, coordinating colors, and decorative stitching, resulting in a unique piece that reflects your style.
Whether you are a beginner quilter or an experienced crafter, the The Amazing A-Frame Organizer with cut out handles – Quilt Pattern is approachable and rewarding. By following the step-by-step instructions, you can create a professional-looking organizer that will last for years. This project also makes a wonderful gift for friends and family who appreciate handmade, practical items. Throughout this article, we will cover materials, cutting, construction, finishing, and tips to ensure your organizer turns out perfectly.
1. Selecting Fabrics and Materials for Your Amazing A-Frame Organizer
Choosing the right materials is essential for crafting the The Amazing A-Frame Organizer with cut out handles – Quilt Pattern. Start with high-quality quilting cottons, as they provide durability and ease of handling. Combining prints and solids allows you to create a visually interesting organizer. For example, a floral main panel paired with a solid color for the handles and sides can make the design pop.
Interfacing or fusible fleece is important for giving the organizer its structure. This added thickness helps the A-frame stand upright and protects the items stored inside. Consider using lightweight fusible fleece for the panels and a heavier fusible interfacing for the base to ensure maximum stability.
The cut-out handles are a signature feature of this organizer. You can reinforce them with additional interfacing or fabric to prevent fraying and add strength. Using contrasting fabrics for the handles can also create a bold design element.
Other essential materials include matching thread, rotary cutter, cutting mat, quilting ruler, and pins or clips. These tools make the cutting and assembly process precise and efficient.
When selecting fabrics, consider coordinating the interior and exterior. A patterned lining fabric can add surprise and delight when the organizer is opened, enhancing both functionality and aesthetics.
Taking time in the fabric selection phase ensures your finished The Amazing A-Frame Organizer with cut out handles – Quilt Pattern is not only beautiful but durable and long-lasting.
2. Cutting and Preparing the Quilt Panels
Cutting precise panels is a critical step in making The Amazing A-Frame Organizer with cut out handles – Quilt Pattern. Accurate measurements ensure that all parts fit together seamlessly, giving the organizer a polished, professional appearance. Use a rotary cutter and quilting ruler to cut your fabric panels, lining pieces, and interfacing.
For the A-frame shape, you will need two large side panels, a base panel, and additional panels for compartments or dividers. Each piece should be cut slightly larger than the final dimensions to account for seam allowances. Cut interfacing or fusible fleece to match the corresponding outer fabric pieces.
Once cut, arrange the pieces to visualize how the fabrics will come together. This is the ideal time to make adjustments to your color scheme or pattern placement. Consider adding decorative elements like fabric appliqués or quilting motifs to the panels before assembly.
Basting the layers of fabric and interfacing is important for stability. You can use safety pins, temporary adhesive, or hand basting to secure layers before sewing. This ensures even quilting and prevents shifting during construction.
Quilting can be done using straight-line stitching, diagonal patterns, or more decorative designs, depending on your skill level and preference. Quilting strengthens the panels and adds texture, enhancing the overall aesthetic.
Properly cut and quilted panels create a strong foundation for assembling your The Amazing A-Frame Organizer with cut out handles – Quilt Pattern, making the rest of the construction process much easier.
3. Constructing the A-Frame Organizer
Assembling The Amazing A-Frame Organizer with cut out handles – Quilt Pattern begins with sewing the side panels together at the base. This forms the basic A-frame structure, ensuring stability. Precise seam allowances are crucial to maintain symmetry and alignment.
The cut-out handles should be reinforced and attached to each side panel. This ensures that the organizer is easy to carry and handles are durable enough to withstand regular use. Consider topstitching around the handles for added strength and decorative appeal.
Next, attach the base panel to the side panels. Use pins or clips to hold pieces in place and sew slowly to ensure even seams. Reinforce the corners and edges to prevent wear and tear over time.
If your design includes internal dividers or compartments, sew them in at this stage. These dividers help organize smaller items like sewing notions, craft supplies, or office materials. Adjustable dividers can also be added using Velcro or snaps.
Once all panels are sewn together, check that the A-frame stands upright and that handles are correctly aligned. Make adjustments as necessary before proceeding to finishing touches.
Proper construction ensures your The Amazing A-Frame Organizer with cut out handles – Quilt Pattern is functional, strong, and visually appealing.
4. Finishing Touches and Personalization
The finishing stage of The Amazing A-Frame Organizer with cut out handles – Quilt Pattern is where you can truly personalize your project. Turn the organizer right side out and press all seams carefully to create crisp edges. Proper pressing makes the organizer look professional and polished.
Adding decorative stitching, embroidery, or fabric appliqués can enhance the overall design. These details reflect your personal style and make the organizer unique. Consider using contrasting thread for a subtle pop of color.
Reinforce the handles and top edges with additional topstitching to ensure durability. This is especially important if the organizer will carry heavier items.
The lining can also be embellished with patterns or quilting for a coordinated look. A surprise pop of color or print inside the organizer adds charm and style.
Check all seams and corners for strength. Any weak spots can be reinforced to extend the life of your organizer. Quality finishing ensures that your The Amazing A-Frame Organizer with cut out handles – Quilt Pattern will be both practical and long-lasting.
Finally, consider gifting the organizer as a handmade present or using it to tidy your sewing or craft area. Its combination of utility and design makes it a standout piece.
FAQ – The Amazing A-Frame Organizer with cut out handles – Quilt Pattern
1. Is this project suitable for beginners?
Yes, with patience and careful attention to detail, beginners can successfully complete The Amazing A-Frame Organizer with cut out handles – Quilt Pattern.
2. What type of fabrics should I use?
Quilting cotton is ideal, but canvas, denim, or other medium-weight fabrics can also be used for added durability.
3. Do I need special tools?
Basic sewing tools like a rotary cutter, quilting ruler, pins, and a sewing machine are sufficient. No specialty equipment is required.
4. How can I reinforce the handles?
Use interfacing, additional fabric layers, and topstitching to ensure the handles are strong and durable.
5. Can I change the size of the organizer?
Yes, measurements can be adjusted to create smaller or larger versions without affecting the A-frame design.
6. How long will it take to make one organizer?
Depending on your experience and quilting complexity, it may take a few hours to complete.
Creating The Amazing A-Frame Organizer with cut out handles – Quilt Pattern is a rewarding project that combines creativity, functionality, and style. From selecting fabrics and cutting panels to constructing the A-frame and adding personal touches, every step allows you to practice and refine your sewing skills.
This organizer is both practical and visually appealing, making it perfect for personal use or as a thoughtful handmade gift. I hope this guide has inspired you to start your own project—please share your honest opinions and suggestions so we can continue creating and learning together.