
The How to crochet vintage flower bag | tinycrochet – Crochet Pattern is a charming and creative project that blends the timeless appeal of vintage floral designs with the functionality of a handmade crochet accessory. This pattern is perfect for crochet enthusiasts who want to explore detailed motifs, experiment with color combinations, and create a bag that is both stylish and practical. Whether you are crafting it for personal use, as a unique gift, or even to sell, the vintage flower bag will add a touch of elegance to any wardrobe.
One of the best aspects of the How to crochet vintage flower bag | tinycrochet – Crochet Pattern is its versatility. You can adapt the colors and yarn textures to match the season, your personal style, or the recipient’s taste. From soft pastel flowers that evoke springtime charm to bold and vibrant tones perfect for summer festivals, this project offers endless creative possibilities. The bag’s structure is sturdy enough for everyday use, yet delicate and decorative enough to stand out as a statement piece.
This project is also an excellent way to practice your crochet skills, especially working with motifs, joining techniques, and decorative stitches. Even if you are a beginner, you can take this pattern step-by-step and produce a beautiful result by starting with the floral squares or circles before assembling the bag. If you are already experienced, you can explore more advanced details such as lining the bag with fabric, adding embellishments, or creating adjustable straps for a professional finish.
1. Materials and Tools for the How to crochet vintage flower bag | tinycrochet – Crochet Pattern
To create the How to crochet vintage flower bag | tinycrochet – Crochet Pattern, you will need specific materials and tools to ensure your final piece is both durable and visually appealing. Choosing the right supplies will make the crocheting process smoother and more enjoyable from start to finish.
Start by selecting the yarn. Cotton yarn is a popular choice for bags because it is sturdy, holds its shape well, and has a clean stitch definition that highlights the floral details. Acrylic yarn can also be used, especially if you want more vibrant color options, while blended fibers can add texture and softness.
Next, choose a crochet hook that complements your yarn weight. Most vintage flower bag patterns work well with hooks between 3.0mm and 4.5mm, depending on the density you want for your stitches. Using a slightly smaller hook than recommended can create a tighter fabric, which is ideal for preventing the bag from stretching.
In addition to yarn and hooks, you will need a yarn needle for weaving in ends, stitch markers to help keep track of your motifs, and sharp scissors for clean cuts. If you plan to line your bag, you will also need fabric, a sewing needle or machine, and matching thread.
The colors you choose will greatly impact the overall aesthetic. For a classic vintage look, opt for muted or pastel shades for the flowers and a neutral color for the bag’s main panels. For a more modern twist, you can use bright, bold colors that make the flowers pop against a dark background.
Lastly, prepare any extra accessories you might want to add, such as buttons, zippers, or leather straps. These details will elevate your How to crochet vintage flower bag | tinycrochet – Crochet Pattern from a simple handmade item to a truly unique fashion statement.
2. Step-by-Step Process for Making the How to crochet vintage flower bag | tinycrochet – Crochet Pattern
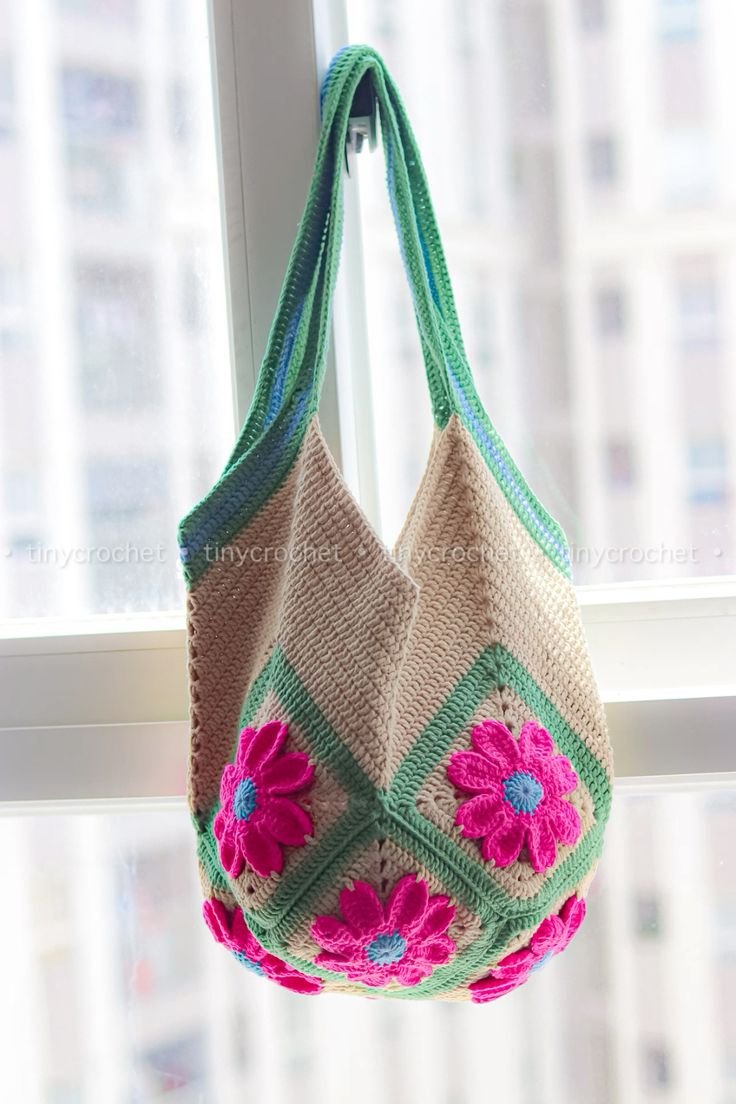
The How to crochet vintage flower bag | tinycrochet – Crochet Pattern is usually constructed from multiple flower motifs that are later joined together to form the shape of the bag. Each step contributes to the final design, so working carefully and consistently will yield the best results.
Begin by creating the floral motifs. Many patterns use a combination of basic stitches such as chains, slip stitches, single crochet, half double crochet, and double crochet to form the petals. The center of the flower is typically a small circle, which then expands outward into layered petals.
Once you have completed enough motifs for your desired bag size, block them to ensure they are all even in shape and size. Blocking also helps the motifs lie flat, making them easier to join neatly.
Join the motifs using your preferred method. You can sew them together with a yarn needle or use crochet joining techniques like slip stitch or single crochet joins. The arrangement of the motifs will determine the bag’s size and overall pattern.
After forming the main body of the bag, crochet additional rows or panels as needed to create depth and structure. This might include a solid base panel for strength and stability.
Add handles or straps. These can be crocheted as simple flat strips, twisted cords, or even replaced with leather straps for a more refined look. Make sure they are securely attached to handle the weight of the items inside.
Finally, if you choose to line the bag, sew the fabric lining to match the bag’s interior dimensions, then attach it carefully by hand or with a sewing machine. This will protect the crochet work and help maintain the bag’s shape.
3. Tips and Techniques for Perfecting the How to crochet vintage flower bag | tinycrochet – Crochet Pattern
When working on the How to crochet vintage flower bag | tinycrochet – Crochet Pattern, a few tips can make your project smoother and more enjoyable while improving the quality of your finished piece.
First, keep your tension consistent throughout the project. Uneven tension can cause your motifs to vary in size, making it more difficult to join them neatly. If you notice inconsistencies, adjust your grip or hook size accordingly.
Choose a sturdy yarn that can handle regular use without pilling or losing shape. Bags undergo more wear and tear than other crochet items, so durability is important.
If you are using multiple colors for your flowers, weave in your ends as you go instead of leaving them all for the end. This will save you time and reduce the risk of tangled yarn.
For a cleaner look, block each motif before joining. Blocking helps define the stitches, flattens the motifs, and gives your bag a more professional finish.
Consider adding a base insert inside the lining to help your bag stand upright. This could be made from cardboard covered with fabric or a lightweight plastic sheet.
Lastly, enjoy the creative process. One of the joys of making the How to crochet vintage flower bag | tinycrochet – Crochet Pattern is the freedom to experiment with colors, arrangements, and textures until you achieve a design that feels uniquely yours.
4. Creative Customization Ideas for the How to crochet vintage flower bag | tinycrochet – Crochet Pattern
One of the best things about the How to crochet vintage flower bag | tinycrochet – Crochet Pattern is how customizable it can be. You are not limited to a single design, which allows you to create a truly personalized accessory.
You can experiment with different flower types beyond the standard vintage pattern. Try daisy motifs, roses, or layered blossoms for a varied floral arrangement.
Play with background colors. Using black, navy, or deep green behind pastel flowers can make the design stand out even more, while lighter backgrounds give a softer, more delicate look.
Add embellishments like beads or sequins to the flower centers for an elegant or festive touch. These small details can make the bag perfect for special occasions.
Consider adjusting the size of the motifs to change the scale of the pattern. Larger flowers will give a bold, statement-making look, while smaller motifs will create a finer, more intricate design.
You can also combine the floral motifs with solid crochet panels to create a mixed-texture effect. This works particularly well if you want a sturdier bottom or sides on the bag.
Finally, don’t forget to personalize the straps. Instead of plain crochet handles, try braided yarn, rope-style cords, or even recycled belt straps for a vintage-meets-modern twist.
FAQ – How to crochet vintage flower bag | tinycrochet – Crochet Pattern
Q: Is this pattern suitable for beginners?
A: Yes, it’s beginner-friendly as long as you are comfortable with basic crochet stitches. The motifs can be learned step-by-step, and assembly becomes easier with practice.
Q: What yarn is best for this project?
A: Cotton yarn is recommended for strength and durability, but you can use acrylic or blended yarns depending on your preference.
Q: Can I machine wash the finished bag?
A: This depends on the yarn used. Cotton and some acrylics are machine washable, but it’s best to check the yarn label and hand wash if you’ve added embellishments.
Q: How long does it take to make the bag?
A: The time varies depending on skill level and size, but most crocheters can finish it within a week if working a few hours a day.
Q: Do I need to line the bag?
A: While optional, lining adds durability, prevents stretching, and helps protect the crochet work from wear.
Q: Can I adjust the size of the bag?
A: Yes, you can increase or decrease the number of motifs or rows to create a larger or smaller bag.
The How to crochet vintage flower bag | tinycrochet – Crochet Pattern is a delightful and versatile project that allows you to combine creativity, functionality, and timeless beauty in one accessory. From choosing your colors and yarn to adding personal touches and finishing details, every step of the process gives you a chance to make something truly unique. Whether you are a beginner looking to challenge yourself or an experienced crocheter aiming for a stylish handmade bag, this pattern is sure to inspire.
I’d love to hear your thoughts—share your honest opinion and suggestions to help other crochet enthusiasts bring their own vintage flower bags to life!