
Starting a DIY Fabric Basket Tutorial – Quilt Pattern project is one of the most rewarding ways to use your creativity while also making something practical for your home. Fabric baskets are not only charming but also highly functional, serving as storage for sewing supplies, small quilts, children’s toys, or even as decorative pieces. With the right guidance, you can sew one of these baskets using simple quilting techniques and create a piece that reflects your personal style.
The beauty of this craft lies in its versatility. Whether you are a beginner exploring your first sewing project or an experienced quilter looking for a quick and useful creation, this tutorial will guide you step by step. Using fabric scraps or specially chosen quilting cotton, you can transform a pile of materials into a sturdy and beautiful basket. The combination of quilting skills and basket-making techniques makes this project exciting and creative.
By following this DIY Fabric Basket Tutorial – Quilt Pattern, you will not only improve your sewing skills but also end up with a basket that can be reused and admired. Handmade fabric baskets are eco-friendly, washable, and customizable. In this article, we will explore the essential steps, share helpful tips, and show how simple quilting can be turned into a functional project.
1. Choosing Materials for Your Fabric Basket
The first step in a DIY Fabric Basket Tutorial – Quilt Pattern is selecting the right materials. The type of fabric you choose will affect both the look and durability of your finished basket. Quilting cotton is highly recommended because it is easy to sew, strong enough for the structure, and available in a wide variety of patterns.
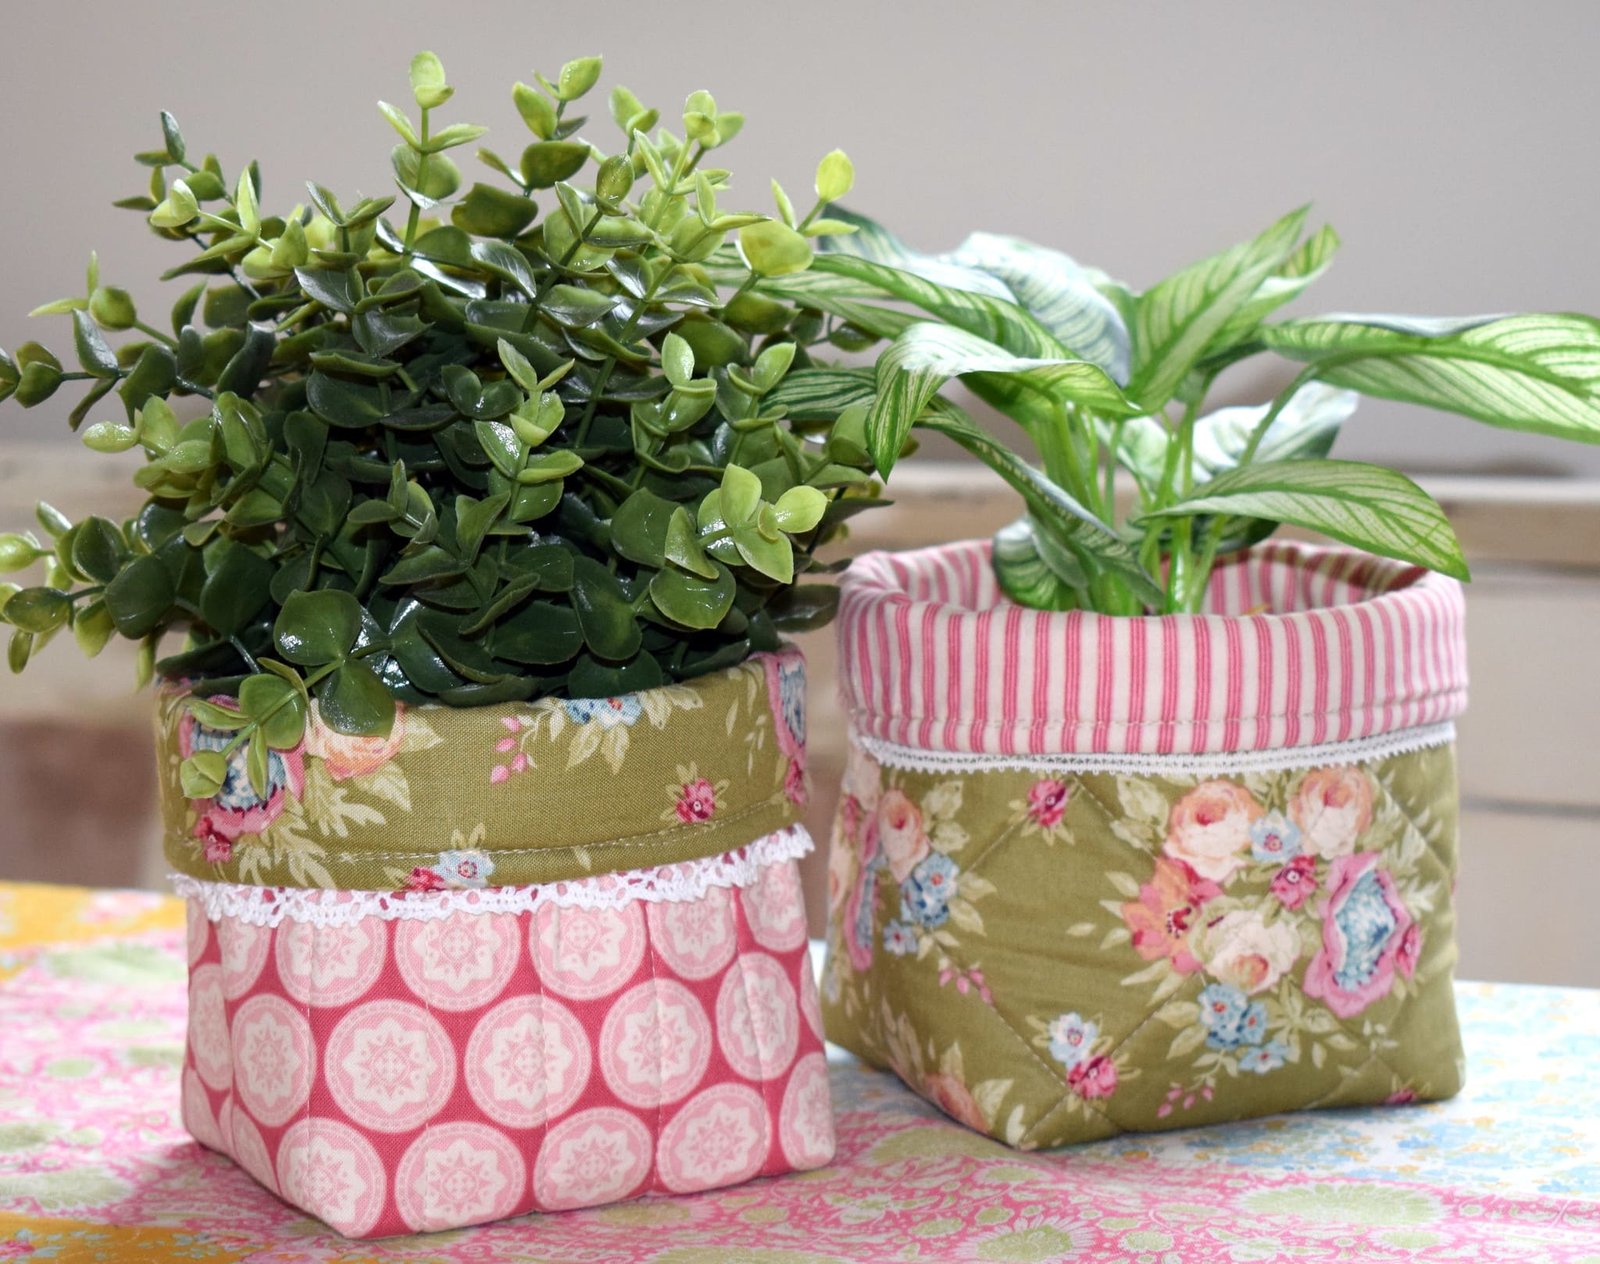
Consider mixing prints and solids to create a basket that feels both stylish and practical. Using leftover quilting fabrics is a great way to minimize waste while experimenting with color combinations. If you want a sturdier design, adding interfacing or batting can provide structure and support.
Thread choice is equally important. A strong polyester thread will keep your seams tight and resistant to daily use. For quilting enthusiasts, this is also an opportunity to showcase decorative stitching on the outside of the basket.
The right sewing tools will make your project easier. Essential supplies include a rotary cutter, self-healing cutting mat, quilting ruler, sewing machine, pins or clips, and an iron for pressing seams. These tools help maintain precision, which is crucial for neat edges and corners.
Don’t forget about lining fabric. A simple cotton lining not only strengthens the basket but also gives a professional finish. You can even use contrasting fabric to add an element of surprise inside.
Once you’ve gathered all your supplies, organize them in your workspace. Being prepared before starting makes the sewing process smoother and more enjoyable, allowing you to focus fully on bringing your basket to life.
2. Cutting and Preparing Fabric Pieces
In any DIY Fabric Basket Tutorial – Quilt Pattern, preparation is key. Begin by measuring and cutting your fabrics carefully. For most baskets, you will need two outer fabric panels, two lining panels, and two pieces of interfacing or batting for stability. Precision ensures that your basket will be symmetrical and sturdy.
Use a quilting ruler and rotary cutter to achieve straight and clean lines. Always double-check your measurements before cutting to avoid wasting fabric. Cutting multiple layers at once can speed up the process if your tools are sharp enough.
Next, attach interfacing or batting to the wrong side of your outer fabric panels. This step adds durability and structure to the basket. A fusible interfacing is easy to apply with an iron and keeps everything in place during sewing.
Pressing is another crucial step. Iron each piece after attaching interfacing and before sewing. Well-pressed fabric is easier to handle, and seams will lay flatter, resulting in a more professional finish.
If you are using different prints for the outside and lining, make sure the pieces match in size. Consistency will help avoid uneven seams and unnecessary adjustments later.
Once all the pieces are cut and prepared, stack them neatly in the order you plan to sew. This organization reduces mistakes and ensures a smooth workflow when assembling the basket.
3. Sewing the Fabric Basket Together
Now comes the exciting part of this DIY Fabric Basket Tutorial – Quilt Pattern: sewing the basket. Start by stitching the side seams of your outer fabric panels. Use a straight stitch and backstitch at the beginning and end for reinforcement.
After sewing the sides, sew the bottom seam to create the basket’s base. To shape the corners, pinch each corner together and sew across, forming a boxed bottom. This gives the basket its three-dimensional structure.
Repeat the same process with the lining fabric. Remember to leave a small opening in the lining’s bottom seam so you can turn the basket right side out later. This step is often overlooked, but it is essential for a neat finish.
Once both the outer basket and lining are complete, place them right sides together. Align the top edges and secure them with pins or clips. Sew around the top edge, making sure your seams are even.
Turn the basket right side out through the opening in the lining. Push out the corners gently with a blunt tool, like the end of a pen or chopstick. Press the top edge neatly before stitching it closed.
Finally, topstitch around the upper edge of the basket. This step adds strength and gives your basket a polished, professional appearance. Congratulations—you now have a finished quilted fabric basket!
4. Creative Ideas and Customization
A DIY Fabric Basket Tutorial – Quilt Pattern wouldn’t be complete without exploring customization ideas. The beauty of fabric baskets lies in how easily they can be adapted to your personal taste and needs.
You can experiment with different sizes. Small baskets are perfect for organizing craft supplies, while larger ones can hold quilts, towels, or even laundry. Adjust the measurements to fit your storage goals.
Adding handles is another popular customization. Simple fabric straps make the basket easy to carry. You can sew them on before attaching the lining or even add leather handles for a modern touch.
Quilting patterns can elevate the look of your basket. Try stitching diagonal lines, free-motion quilting, or decorative stitches across the outer fabric. These designs not only enhance beauty but also strengthen the fabric layers.
For seasonal or holiday themes, choose fabrics that reflect the occasion. Bright florals for spring, cozy plaids for winter, or festive prints for holidays can turn your basket into a versatile decoration.
Lastly, consider labeling your baskets with fabric tags. This adds organization and makes each basket’s purpose clear—especially helpful in sewing rooms, nurseries, or kitchens.
With these creative touches, your quilted fabric basket will become more than just a storage solution—it will be a personalized expression of your quilting journey.
What is the main purpose of a fabric basket?
A fabric basket is designed for storage and decoration. It can hold sewing supplies, toys, quilts, or any household items while adding charm to your space.
Can beginners follow this DIY Fabric Basket Tutorial – Quilt Pattern?
Yes, this tutorial is beginner-friendly. With basic sewing skills, you can successfully complete a basket and build confidence in quilting techniques.
What fabrics work best for quilted baskets?
Quilting cotton is ideal due to its durability and wide range of prints. You can also use canvas for extra sturdiness or mix fabrics for a unique look.
How can I make my fabric basket sturdier?
Adding fusible interfacing, batting, or even quilting foam between fabric layers will give your basket more structure and help it stand upright.
Are fabric baskets washable?
Yes, most fabric baskets made with cotton fabrics and washable interfacing can be machine washed. Always check the fabric care instructions before washing.
Can I resize the pattern for different purposes?
Absolutely. You can enlarge or reduce the measurements to create baskets of various sizes, making them useful for everything from small desk organizers to large storage bins.
The DIY Fabric Basket Tutorial – Quilt Pattern shows how simple quilting techniques can be transformed into a functional and decorative project. By choosing the right materials, cutting and preparing fabric carefully, sewing with precision, and adding personal touches, you can create a basket that is both practical and beautiful.
Now that you have learned the steps and customization options, it’s your turn to create. Handmade baskets bring warmth and personality to any home. We would love to hear your thoughts—please share your honest opinion and suggestions about this tutorial.