
Learning How to Crochet a Granny Square – Crochet Pattern is one of the most rewarding skills for anyone interested in the world of crochet. The granny square is a timeless design that has been cherished by generations of crafters. Its versatility allows it to be used in blankets, scarves, bags, cushion covers, and more, making it a must-learn pattern for beginners and experienced crocheters alike. By mastering this simple yet beautiful square, you open up endless creative possibilities to design projects that are both functional and artistic.
The charm of the How to Crochet a Granny Square – Crochet Pattern lies in its simplicity. With only a few basic stitches—such as chains, slip stitches, and double crochet—you can create stunning squares that can be joined together into larger projects. This pattern is perfect for using up leftover yarn scraps, allowing you to mix and match colors to create unique designs every time. It’s also an excellent project for practicing stitch consistency and color changes while enjoying the relaxing rhythm of crochet.
One of the best things about the How to Crochet a Granny Square – Crochet Pattern is that it’s highly adaptable. You can change the size by adding more rounds, experiment with different yarn types for various textures, or alter the color combinations to fit your personal style or home décor. Whether you are crocheting a cozy throw for winter nights or a vibrant bag for summer outings, the granny square serves as a solid foundation for creativity.
1. Materials and Tools for How to Crochet a Granny Square – Crochet Pattern
To start your journey with the How to Crochet a Granny Square – Crochet Pattern, you will need a few essential tools and materials. Choosing the right supplies will make the process smoother and help you achieve a high-quality finish for your project.
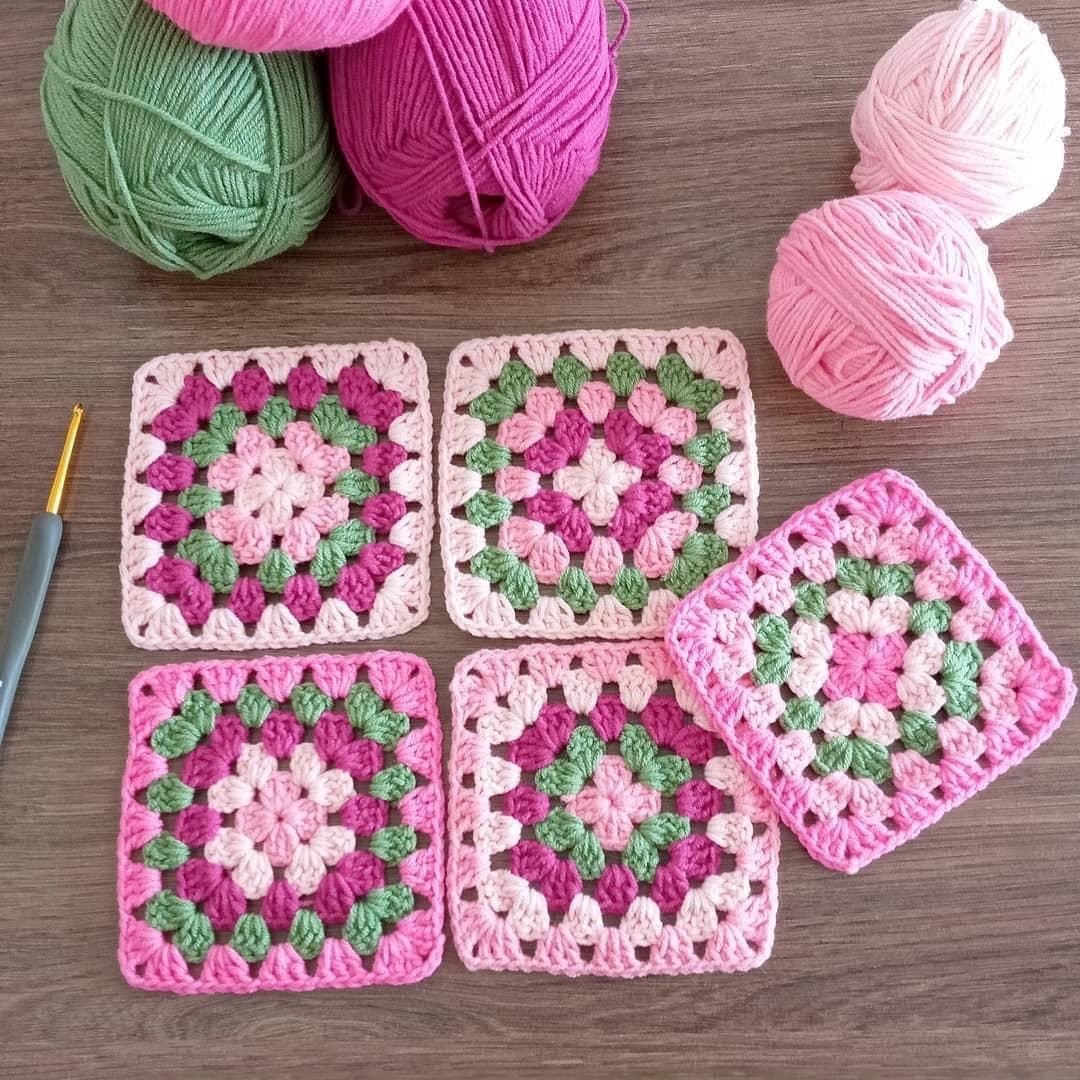
First, select your yarn. Acrylic yarn is a popular choice because it is affordable, durable, and comes in a wide range of colors. Cotton yarn offers a smooth texture and is great for items like dishcloths or summer projects. For a more luxurious feel, wool or blended fibers work beautifully.
Next, choose the appropriate crochet hook size. The hook size usually depends on the yarn you are using; check the yarn label for recommendations. For beginners, a medium-weight yarn paired with a 5.0mm hook is a good starting point, as it’s easier to handle.
You will also need a pair of scissors to cut your yarn and a yarn needle for weaving in ends. Stitch markers can be useful to keep track of your starting points, especially if you are new to crocheting in the round.
For color planning, it’s helpful to decide on a palette before you start. You can create a harmonious look with matching shades or go bold with contrasting colors for each round of the granny square.
Finally, ensure you have a comfortable and well-lit workspace. Crocheting is much more enjoyable when you can clearly see your stitches and work without strain.
2. Step-by-Step Guide on How to Crochet a Granny Square – Crochet Pattern
The basic How to Crochet a Granny Square – Crochet Pattern starts with a small circle and grows outward into a square through a series of rounds. Once you understand the structure, you can adjust it to fit any project.
Begin with a slip knot and chain four stitches. Join the chain into a circle with a slip stitch. This small loop will serve as the foundation for your first round.
In the first round, you will typically create three double crochet stitches followed by a chain of two, repeating this sequence around the circle to form four sets of stitches, each separated by a corner space. These corner spaces are essential for shaping the square.
In the second round, you will work into each corner space, creating clusters of double crochet stitches separated by chains. This step gradually expands the square while maintaining its shape.
Each new round builds on the previous one. You will work clusters into the spaces between clusters from the round below, adding extra stitches at the corners to maintain the square’s shape.
Continue adding rounds until your granny square reaches the desired size. Finish off by fastening the yarn and weaving in the ends with your yarn needle for a clean finish.
3. Tips for Perfecting How to Crochet a Granny Square – Crochet Pattern
Even though the How to Crochet a Granny Square – Crochet Pattern is beginner-friendly, a few tips can help you achieve a neater and more professional-looking result.
Maintain consistent tension throughout your work. Uneven tension can make your squares misshapen or inconsistent in size, making them harder to join later.
Always start each round in the same place to create a uniform look. This helps keep your corners aligned and your stitches even.
If you are using multiple colors, change yarns at the end of a round rather than in the middle. This technique keeps the joins less noticeable and more polished.
Blocking your finished granny squares can make a big difference in appearance. Blocking helps to straighten edges, even out stitches, and prepare your squares for assembly.
When joining multiple squares, consider using the same color for the final round of each square to create a cohesive design across your project.
Don’t be afraid to experiment with different stitch patterns within the granny square framework. You can incorporate shells, popcorn stitches, or textured stitches for variety.
4. Creative Uses for How to Crochet a Granny Square – Crochet Pattern
Once you’ve mastered the How to Crochet a Granny Square – Crochet Pattern, you can use it to create a wide variety of items beyond traditional blankets. The versatility of the granny square means your creativity is the only limit.
Make a colorful blanket by joining multiple granny squares in different shades and patterns. This is a classic project and a great way to use leftover yarn.
Turn granny squares into wearable fashion items like cardigans, vests, or scarves. They add a handmade charm to any outfit and can be customized to fit your style.
Use a single large granny square to make a cushion cover or table mat. You can adjust the colors to match your home décor for a coordinated look.
Create a tote bag by joining squares in a rectangular layout and adding handles. This makes a unique and eco-friendly accessory.
Smaller granny squares can be used as coasters, pot holders, or decorative wall art. The possibilities are endless with just a few adjustments in size and color.
Combine granny squares with other crochet motifs to create patchwork projects that have a rich and textured appearance.
FAQ – How to Crochet a Granny Square – Crochet Pattern
Q: Is the granny square a good project for beginners?
A: Yes, it’s one of the best starting projects for beginners because it uses basic stitches and is easy to customize.
Q: How long does it take to crochet one granny square?
A: For beginners, it may take 20–30 minutes to make one square. With practice, you can make them much faster.
Q: Can I use any yarn for granny squares?
A: Yes, you can use any yarn, but medium-weight yarn is recommended for beginners.
Q: How do I change colors neatly in a granny square?
A: It’s best to change colors at the end of a round to keep the joins tidy and less visible.
Q: Do I need to block granny squares before joining them?
A: Blocking is optional but helps the squares lie flat and align better when joined.
Q: What is the best joining method for granny squares?
A: Popular methods include slip stitching, whipstitching, and join-as-you-go. Each creates a slightly different look.
The How to Crochet a Granny Square – Crochet Pattern is a timeless and versatile crochet design that opens up endless creative opportunities. With just a few simple stitches, you can create something beautiful, practical, and entirely your own.
From cozy blankets to stylish accessories, the granny square continues to inspire crafters worldwide. I’d love to hear your thoughts—share your feedback and suggestions so we can keep inspiring each other in this wonderful crochet journey.