
If you’ve ever wanted to add a handmade touch to your kitchen, sew your own oven gloves – sewing tutorial quilt pattern is the perfect DIY project. Whether you’re a beginner looking to try something fun or a seasoned sewist who enjoys creating practical quilted items, this tutorial offers a clear path to making your own customized oven mitts. With a bit of fabric, some quilting skills, and your creativity, you’ll have a stylish and safe pair of gloves to use or gift.
The joy of learning how to sew your own oven gloves – sewing tutorial quilt pattern is not just about the end result, but the process itself. From choosing your favorite fabrics to mastering simple quilting techniques, you’ll find that sewing your own kitchen accessories can be both satisfying and rewarding. Not only will your gloves reflect your style, but they’ll also offer better heat protection than most store-bought ones.
In this article, we’ll guide you through a complete step-by-step sewing tutorial. Along the way, we’ll highlight essential materials, useful tips, and important steps so that you can confidently follow the quilt pattern and enjoy a successful project. So, grab your fabric scraps and let’s dive in!
1. Choosing Materials and Quilt Pattern
Before you start to sew your own oven gloves – sewing tutorial, it’s important to gather all the necessary materials. Having everything ready will ensure a smoother sewing experience and help you stay focused.
Start by choosing cotton fabric for both the outer layer and the lining. Cotton is durable, easy to work with, and can handle heat well. You’ll need at least two different fabrics – one for the outside and one for the inside. Feel free to use scraps or fat quarters.
For heat resistance, always use insulated batting like Insul-Bright, paired with a layer of cotton batting. This combination gives your oven gloves both structure and heat protection.
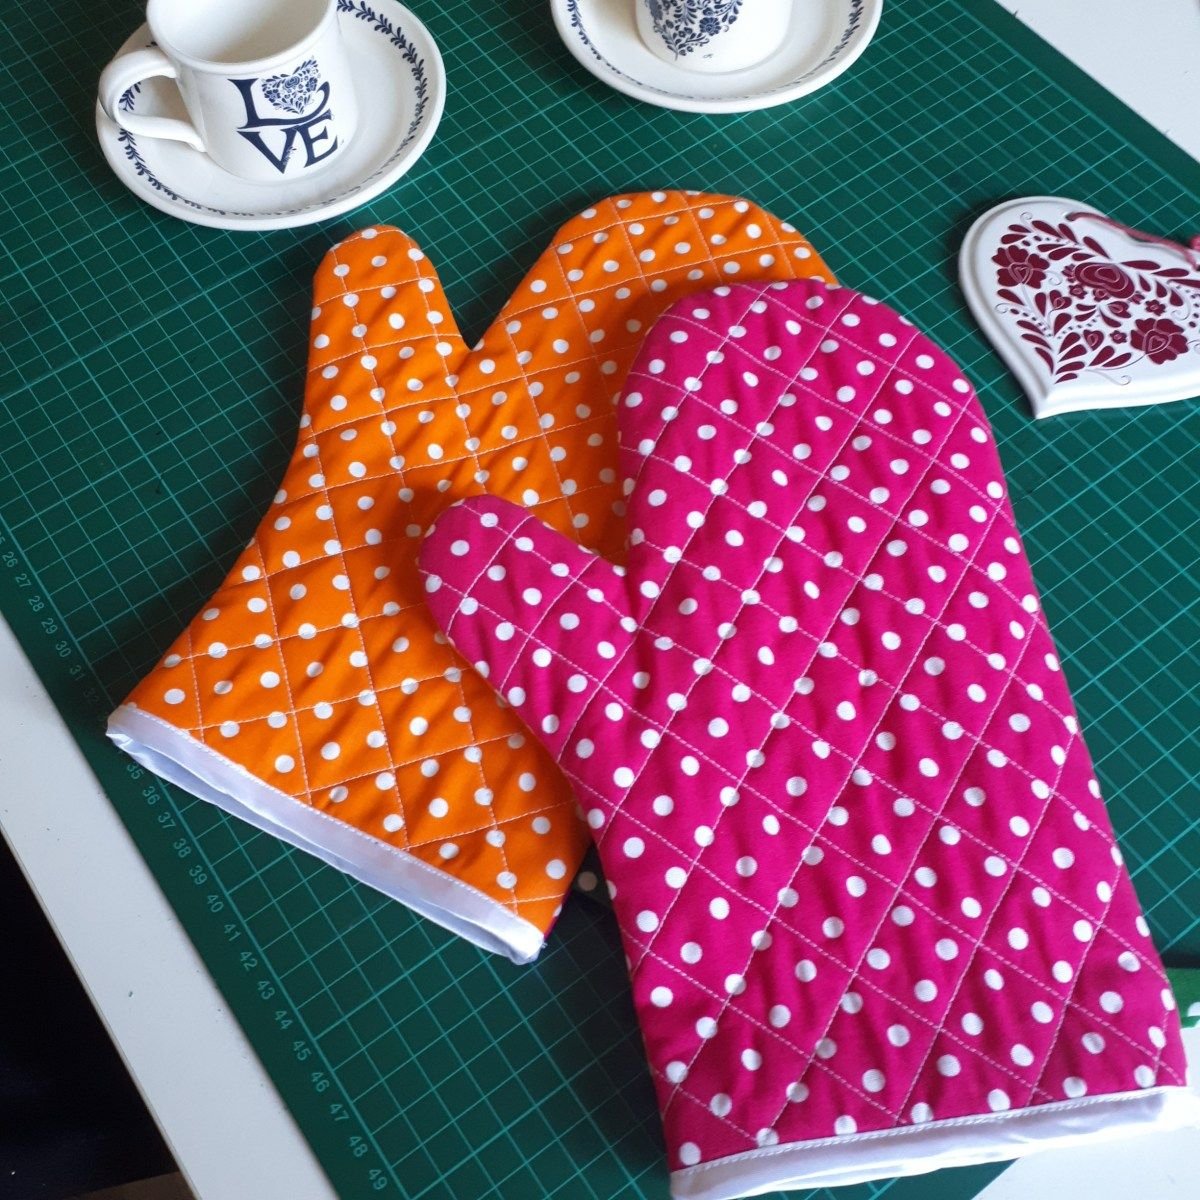
You’ll also need a reliable quilt pattern. There are many ways to shape oven gloves, but a classic rounded mitt style is a great place to begin. You can either draw your own based on a glove you own or print a template.
Make sure to have your basic sewing tools handy: fabric scissors, pins, clips, a fabric marker, a rotary cutter, and a ruler. A walking foot for your sewing machine is helpful for quilting through thick layers.
Lastly, consider adding a small fabric loop to your gloves. This lets you hang them on a hook for easy access and adds a neat finishing touch to your project.
2. Cutting and Preparing the Fabric
With all your materials ready, the next step to sew your own oven gloves – sewing tutorial quilt pattern is cutting your fabric and preparing your layers.
Start by tracing your oven glove pattern onto the outer fabric, lining, cotton batting, and insulated batting. You will need two mirrored pieces of each layer to make one pair of gloves.
Once all your pieces are cut, it’s time to layer them correctly. Begin with the outer fabric facing down, followed by cotton batting, then insulated batting, and finally the lining fabric on top, right side up.
Pin or clip the layers together securely. If your batting shifts during sewing, it can distort the shape of your glove, so take your time to align everything well.
Now you’re ready to quilt the layers. Use a simple straight stitch or decorative quilting pattern. Lines spaced about 1 inch apart work well and give a professional look.
Quilting not only secures the layers together but also adds texture and strengthens the oven gloves. Remember to backstitch at the beginning and end of each line.
Repeat the process for both the front and back of the gloves. After quilting, trim the layers again using your template to ensure everything is even and clean.
3. Assembling and Sewing the Oven Gloves
Now comes the fun part – putting the gloves together! This step brings all your work to life as you continue your sew your own oven gloves – sewing tutorial quilt pattern journey.
Place your two quilted glove pieces right sides together. Pin them in place carefully, making sure all edges are aligned for a smooth seam.
Using a 1/4 inch seam allowance, sew around the entire edge of the glove, leaving the wrist opening unstitched. Go slowly around the curves to maintain a neat shape.
Once sewn, trim the seam allowance along the curves and notch them to help the glove turn smoothly without bunching.
Turn the glove right side out. You may need a blunt object like a wooden spoon handle to push out the fingers and thumb neatly.
Next, fold the raw edge of the wrist opening inward by about ½ inch and press with an iron. You can either topstitch this edge or add bias binding for a polished look.
If you want a hanging loop, sew a small strip of folded fabric or bias tape into the seam on one side of the wrist. This little detail makes your gloves even more practical.
4. Personalizing Your Oven Gloves
What makes the sew your own oven gloves – sewing tutorial quilt pattern so enjoyable is the chance to add your personal flair. Customizing your gloves turns them into one-of-a-kind creations.
Start by selecting colors and prints that reflect your kitchen’s theme or your own personality. Florals, gingham, solids, or novelty prints – the choice is yours.
Add extra charm by including embroidery or appliqué. Stitching a name, kitchen pun, or small design onto the glove before quilting can make it truly unique.
If you’re making gifts, consider using themed fabric for holidays or special occasions. Personalized oven gloves are a heartfelt and useful handmade present.
You can also mix and match fabrics within the same glove – a patterned front and a solid back, for instance. This small variation can create a dynamic and fun design.
Another idea is to adjust the size of your gloves. Make a smaller version for kids who like to help in the kitchen, or size up for larger hands.
Lastly, always label your handmade item. A small fabric tag or stamped name adds a touch of professionalism and celebrates your craftsmanship.
Frequently Asked Questions
What type of batting should I use for oven gloves?
Always use insulated batting such as Insul-Bright, ideally combined with a layer of cotton batting for extra thickness and heat protection.
Can I make oven gloves without a sewing machine?
While possible, sewing by hand will be more time-consuming. A machine provides stronger seams, especially when quilting through thick layers.
How do I make my own oven glove pattern?
You can trace around an existing oven mitt, adding a ½ inch seam allowance. There are also printable templates available for free online or in sewing books.
Is it safe to use homemade oven gloves?
Yes, as long as you use heat-resistant materials, such as cotton and insulated batting. Avoid synthetic fabrics which may melt or catch fire.
How do I wash quilted oven gloves?
Use cold or warm water and a gentle cycle. Air dry or tumble dry low. Do not use bleach, as it may damage the batting.
Can I sell oven gloves I make from this tutorial?
Absolutely! Handmade oven gloves are popular at craft fairs and online. Just make sure your gloves are securely sewn and use safe materials.
We hope this complete sew your own oven gloves – sewing tutorial quilt pattern has inspired you to create something both beautiful and useful. With just a few materials and a bit of time, you can make custom quilted oven gloves that are practical, stylish, and uniquely yours.
From choosing fabrics to quilting, assembling, and adding personal touches, each step offers creativity and satisfaction. Whether you’re making them for yourself or as thoughtful gifts, your handmade gloves will bring warmth – literally and emotionally – to any kitchen.
If you enjoyed this project or have any tips, ideas, or questions, please leave a sincere opinion in the comments. We’d love to hear how your oven gloves turned out and what you’d like to see in future tutorials!